
No products in the cart.
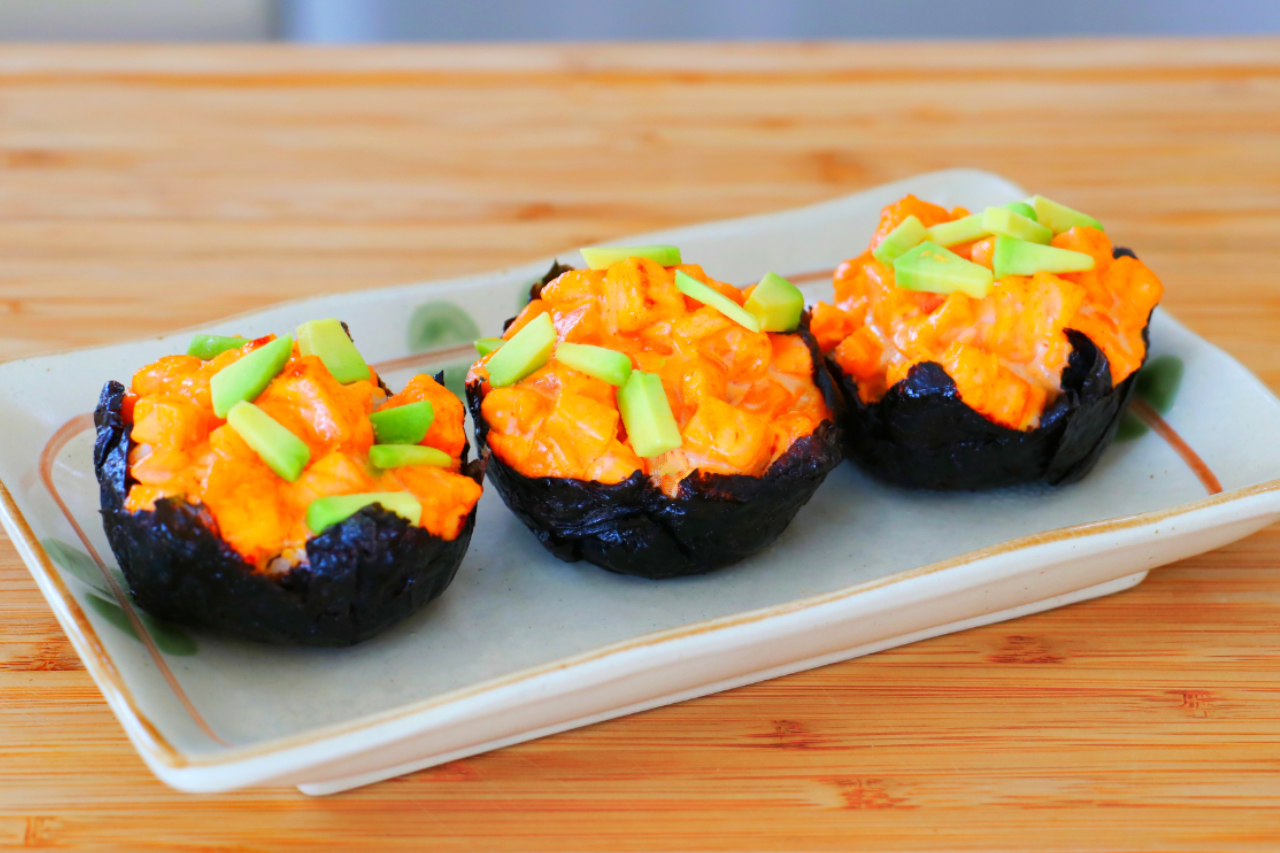
Baked Salmon Sushi Cups
These Baked Salmon Sushi Cups are one of the easiest ways to enjoy sushi flavors at home—no rolling mat and no complicated technique required! Each little cup has warm rice, roasted seaweed, creamy spicy salmon, and fresh avocado on top.
If making sushi rolls feels intimidating, I love this method because the muffin tin does all the shaping for you. Just layer the seaweed and warm rice, press everything into the muffin tin, add the salmon, and bake.
They’re also such a fun way to serve sushi. Everyone gets their own individual cup, making them perfect for parties, appetizers, or an easy family dinner. And once the rice is cooked, the sushi cups themselves take only about 15 minutes in the oven.
What Are Baked Salmon Sushi Cups?
Baked sushi cups are a fun, individual version of baked sushi.
Instead of layering everything in a casserole dish or rolling traditional sushi, the ingredients are assembled inside a muffin tin. Roasted seaweed forms the outside, rice creates the base, and spicy salmon goes right on top.
As they bake, the salmon cooks through while the seaweed around the edges becomes lightly crisp. Finish each cup with creamy avocado and a squeeze of lemon or lime for freshness.
You get many of the flavors you love about sushi, but in an easy grab-and-eat cup.
Why Use a Muffin Tin?
The muffin tin is what makes this recipe so easy.
There’s no sushi rolling or special shaping technique to learn. Each muffin well supports the seaweed and rice while they bake, helping everything hold its cup shape.
A standard-size muffin tin works well for this recipe and gives you 12 individual sushi cups.
It’s also great for entertaining because the portions are already divided—just add the toppings and serve.
What Kind of Rice Is Best for Sushi Cups?
I use medium-grain rice because it’s what I usually have on hand, but Japanese sushi rice or short-grain rice is another great option.
The important thing is choosing rice that has enough stickiness to hold together inside the cups. Long-grain varieties tend to be fluffier and less sticky, so the cups may not hold together quite as well.
For this recipe, I don’t season the rice with sushi vinegar. The spicy salmon and toppings already bring plenty of flavor, so I keep the rice simple.
Why Use Warm Rice?
Here’s a small detail that makes assembling the cups much easier: use the rice while it’s still warm.
The warm rice gently softens the roasted seaweed, making it more flexible and easier to press into the muffin tin without cracking.
Place about 1½ tablespoons of warm rice onto the stacked seaweed, then gently press everything into the muffin well.
Don’t pack the rice too tightly. You want it to hold together without becoming dense.
Why Use Two Layers of Seaweed?
For each sushi cup, I stack two pieces of roasted seaweed together before adding the rice.
Using two layers gives the cup a little more structure to support the rice and salmon filling.
Once you add the warm rice, the seaweed begins to soften, making it easier to press into the muffin tin while still giving the finished cup enough structure to pick up and eat.
What Kind of Salmon Should I Use?
Because the salmon is fully baked in this recipe, you don’t need sushi-grade salmon.
Choose fresh, good-quality salmon and remove the skin and any pin bones if necessary. Cut the salmon into small, fairly even cubes so the pieces cook at approximately the same rate.
The salmon is tossed with mayonnaise, Sriracha, and a little salt before baking, creating a creamy, spicy topping.
Since salmon thickness and ovens vary, make sure the salmon is properly cooked before serving.
Let’s Talk Ingredients
Medium-grain rice: I use medium-grain rice because it’s what I have on hand, but Japanese sushi rice or short-grain rice works beautifully too.
Roasted seaweed: Temaki nori works well because the sheets can easily be cut and shaped into individual cups.
Salmon: Cut it into small cubes so it cooks quickly and evenly.
Mayonnaise: Gives the salmon mixture its creamy texture. Japanese mayonnaise is also a great option if you have it.
Sriracha: Adds heat and a touch of sweetness to the salmon.
Avocado: Its cool, creamy texture is a great contrast to the warm, spicy salmon.
Lemon or lime: A squeeze at the end adds freshness and acidity.
Step-by-Step: Let’s Cook
Makes: 12 pieces
Prep Time: 15 minutes
Cook Time: 45 minutes
Step 1: Cook the Rice
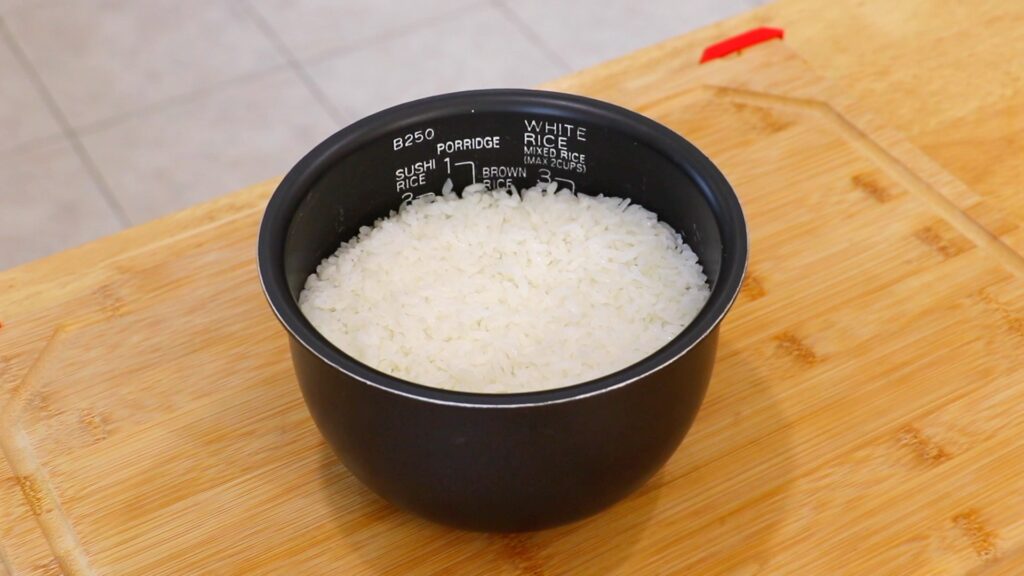
Thoroughly rinse the rice, then transfer it to a rice cooker with 1¼ cups water. Cook using the rice setting for about 30 minutes.
For the stovetop method, add the rice and water to a pot with a lid. Bring to a boil over medium-high heat, reduce the heat to low, and simmer for 15 minutes. Turn off the heat and let the rice rest, covered, for another 15 minutes.
Fluff the rice and set aside, keeping it warm for assembly.
Tip: Don’t let the rice cool completely. Warm rice helps soften the seaweed so it’s easier to shape.
Step 2: Prepare the Salmon
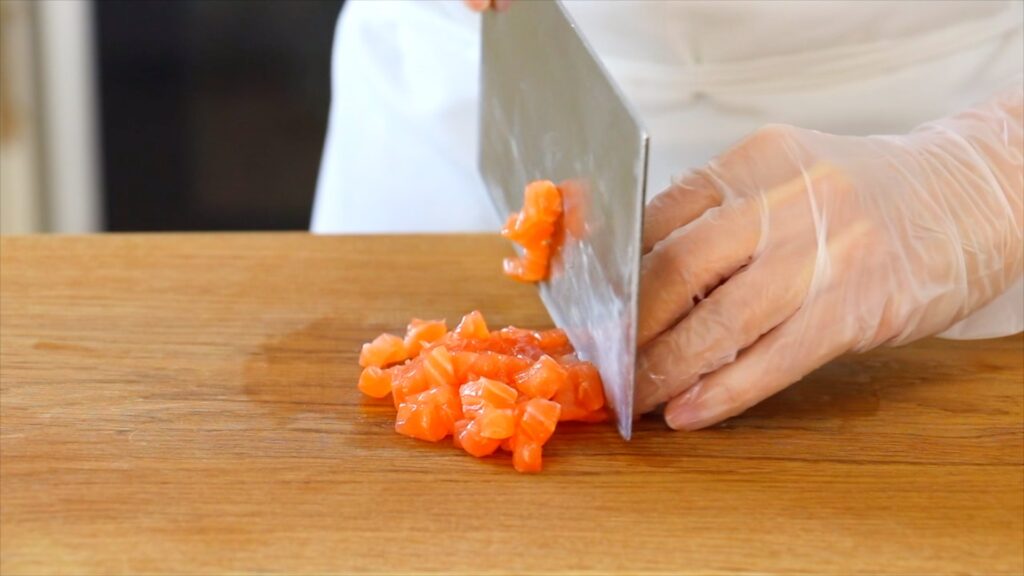
In a mixing bowl, whisk together the mayonnaise, Sriracha, and salt.
Add the cubed salmon and toss until evenly coated.
Tip: Cut the salmon into similarly sized small cubes so they cook evenly in the oven.
Step 3: Assemble the Sushi Cups
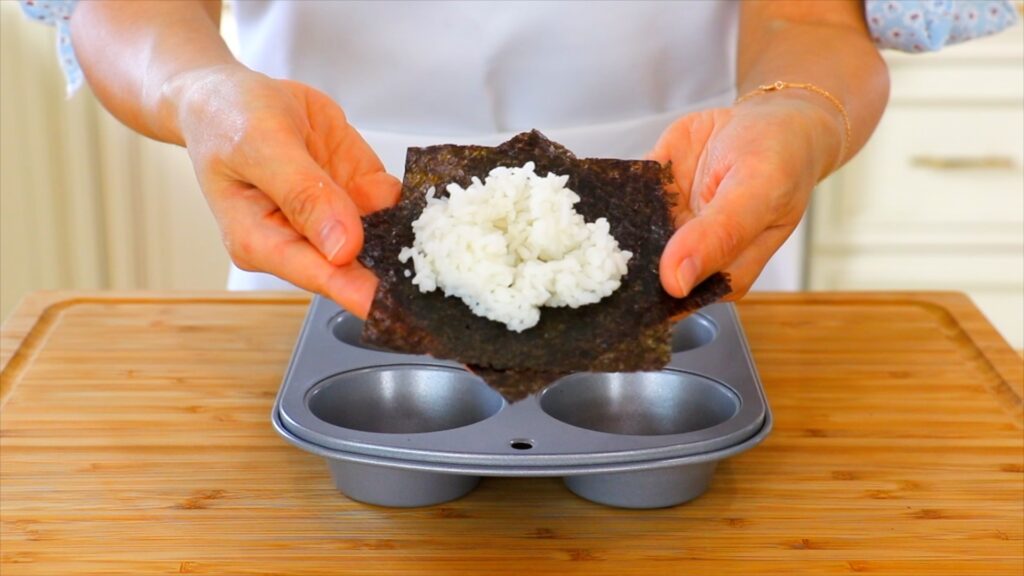
Cut each roasted seaweed sheet in half and stack two halves together.
Scoop about 1½ tablespoons of warm rice onto the stacked seaweed. Gently press the seaweed and rice into a standard-size muffin tin to form a cup.
Repeat with the remaining seaweed and rice, then spoon the salmon mixture over each cup.
Tip: Use the rice while it’s still warm. The warmth softens the seaweed, making it easier to shape and helping it stay in place in the muffin tin.
Step 4: Bake

Preheat the oven to 400°F (204°C).
Place the muffin tin on the middle rack and bake for about 15 minutes, until the salmon is cooked through.
Remove from the oven and allow the cups to cool slightly.
Tip: Salmon pieces and ovens vary, so use the cooking time as a guide and check that the salmon is fully cooked before serving.
Step 5: Finish and Serve

Top each sushi cup with diced avocado and a squeeze of fresh lemon or lime.
Add extra Sriracha if you like and serve warm.
Tip: Add the avocado after baking so it stays fresh, creamy, and bright.
How Do You Keep Sushi Cups from Falling Apart?
There are three things that help:
Use the rice while it’s warm. The warmth softens the seaweed, making it easier to shape inside the muffin tin.
Let the cups cool slightly. Give them a few minutes after baking before lifting them from the pan. This makes them easier to handle—and keeps you from biting into piping-hot salmon.
Can I Customize Baked Sushi Cups?
Absolutely. This is an easy recipe to change depending on what you have.
You can add cucumber, sesame seeds, scallions, furikake, tobiko, or extra Sriracha after baking. A drizzle of unagi sauce or spicy mayo also works well.
You can also adjust the amount of Sriracha in the salmon mixture depending on how spicy you like it.
Can I Make Baked Salmon Sushi Cups Ahead?
You can prepare some of the components ahead, but I recommend assembling and baking the cups close to serving time.
The rice can be cooked ahead, although you’ll want it warm and soft when assembling. The salmon can also be cubed and refrigerated until you’re ready to mix it with the sauce.
Once assembled, the moisture from the rice and salmon will gradually soften the seaweed, so these have their best texture when freshly made.
Frequently Asked Questions
Do I need sushi-grade salmon?
No. The salmon is fully cooked in the oven, so sushi-grade salmon isn’t necessary. Use fresh, good-quality salmon suitable for cooking.
Can I use sushi rice?
Absolutely. Japanese sushi rice or other short-grain rice works very well. I use medium-grain rice because it’s what I usually have on hand.
Can I use regular nori?
Yes. Roasted nori sheets work well as long as they’re large enough to cut and shape into the muffin cups.
Why is my seaweed cracking?
It may be too dry when you’re shaping it. Place the warm rice on the seaweed first and give it a moment to soften before gently pressing it into the muffin tin.
Can I make these less spicy?
Yes. Simply reduce the Sriracha to taste.
Can I serve them at room temperature?
Yes, although I like them best warm when the salmon has just come out of the oven.

Baked Salmon Sushi Cups
These Baked Salmon Sushi Cups are an easy, bite-sized twist on sushi with warm rice, roasted seaweed, creamy spicy salmon, and fresh avocado.
Ingredients
For the steamed rice
- 1 cup medium-grain rice, or substitute with another variety
- 1¼ cups water
For the spicy mayo sauce
- 3 tablespoons mayonnaise
- 2 tablespoons Sriracha sauce
- ⅛ teaspoon salt
For the sushi cups
- 12 sheets roasted seaweed, temaki nori, halved
- 1 pound salmon, cut into small cubes
- 1 medium avocado, diced
- 1 wedge lemon, or lime
Instructions
- To cook the rice: Thoroughly rinse the rice. Transfer to a rice cooker with the water and cook using the rice setting for about 30 minutes. For the stovetop method, bring the rice and water to a boil, reduce the heat to low, cover, and simmer for 15 minutes. Turn off the heat and let sit, covered, for another 15 minutes. Fluff and keep warm.
- To prepare the salmon: In a mixing bowl, whisk together the mayonnaise, Sriracha, and salt. Add the salmon and toss until evenly coated.
- To assemble the sushi cups: Cut each roasted seaweed sheet in half and stack two halves together. Add about 1½ tablespoons of warm rice on top, then gently press the seaweed and rice into a standard-size muffin tin to form a cup. Repeat with the remaining ingredients, then spoon the salmon mixture over the rice.
- To bake the sushi cups: Preheat the oven to 400°F (204°C). Bake on the middle rack for about 15 minutes, until the salmon is cooked through. Remove from the oven and let cool slightly.
- To serve: Top each sushi cup with diced avocado and a squeeze of lemon or lime. Add extra Sriracha if desired and serve warm.
Video
Notes
- Use warm rice: The warmth softens the seaweed, making it easier to shape and helping it stay in place in the muffin tin.
- Choose sticky rice: Medium-grain, sushi rice, or short-grain rice works best for holding the cups together.
- Stack the seaweed: Using two pieces gives each sushi cup more structure.
- Cut the salmon evenly: Similar-sized cubes help the salmon cook evenly.
- Add avocado after baking: This keeps it fresh and creamy.
- Serve freshly made: The seaweed gradually softens as it sits, so the sushi cups have the best texture soon after baking.
More Rice Recipes to Make Next

8-Min Vegetable Fried Rice Recipe
Vegetable Fried Rice is one of those dishes I can make anytime, especially when I open the fridge and see leftover rice sitting there. In …

10-Min Pineapple and Shrimp Fried Rice Recipe
Pineapple and Shrimp Fried Rice is one of my favorite ways to turn leftover rice into a quick and delicious meal. The sweet pineapple, tender …
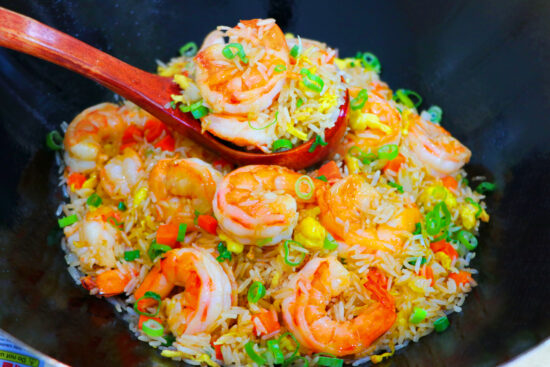
10-Min Teriyaki Shrimp Fried Rice Recipe
Teriyaki Shrimp Fried Rice is one of those dishes that came together naturally in my kitchen. I love fried rice, and I’ve always loved teriyaki—that …

15-Min Chicken Fried Rice Recipe
This Chicken Fried Rice proves that simple ingredients can deliver big flavor—think juicy marinated chicken, fluffy rice with perfectly separated grains, and that irresistible smoky …

9-Min Shrimp Fried Rice Recipe
Shrimp Fried Rice is pure comfort in a bowl—juicy shrimp, fluffy rice, smoky wok aroma, and that irresistible restaurant-style flavor you can actually make at …
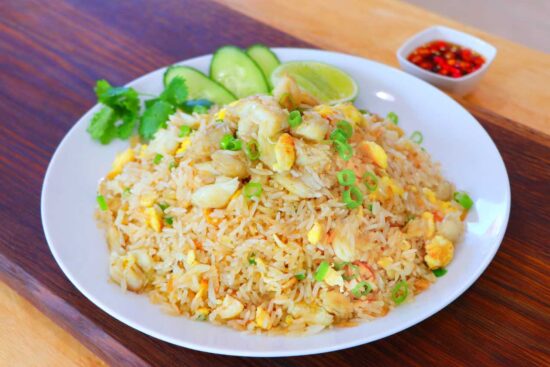
10-Min Thai Crab Fried Rice Recipe
What Is Thai Crab Fried Rice? Thai crab fried rice is a popular street-food dish made with fragrant jasmine rice, sweet lump crab meat, …
Hmmmm yummy I try this soon
I hope you’ll enjoy the sushi cups, Sharon!
Dear CiCi, when you say salmon, do you mean sashimi? Or regular salmon as it is baked in the oven anyway? Thanks for all the yummy recipes! ❤️
Hi Natalie, you can use regular salmon for this recipe — no need for sashimi-grade since it’s baked in the oven. Thank you so much for your kind words and for trying my recipes!
Is there alternative instead of sriracha
Hi Jocelyn, yes! You can swap the sriracha with chili oil, gochujang, or even a mild hot sauce if you prefer. If you don’t want spice at all, a little ketchup or tomato paste works nicely too. Happy cooking!