
No products in the cart.
30-Min Sweet and Sour Chicken Recipe
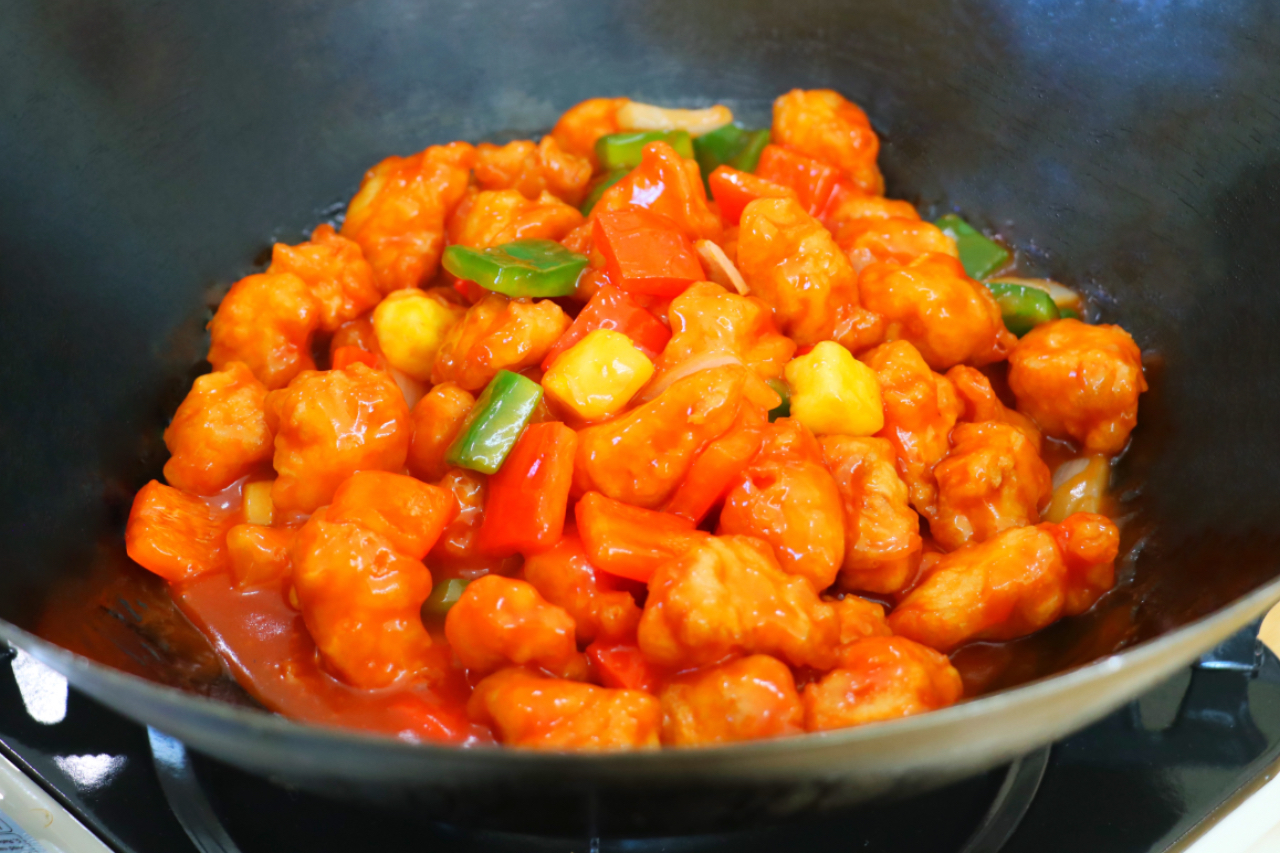
Sweet and Sour Chicken is one of those dishes that almost everyone loves. Crispy golden chicken, colorful peppers and onions, juicy pineapple, and a glossy sweet and tangy sauce come together to create one of the most iconic Cantonese dishes.
I love making this recipe at home because everything tastes so much fresher than takeout. The chicken stays wonderfully crispy, the vegetables keep their natural crunch, and the sauce has the perfect balance of sweetness and tanginess. You can also adjust the flavors to your own taste, making it exactly the way your family enjoys it.
The secret isn’t just the sauce. A few simple techniques, like marinating the chicken, making a light batter, and double-frying, make a huge difference in the final texture. I’ll walk you through each step so you can make Sweet and Sour Chicken that’s crispy, flavorful, and incredibly satisfying.
Whether it’s for a weeknight dinner or a special family meal, this recipe is always one that disappears quickly at our table.
What Is Sweet and Sour Chicken?
Sweet and Sour Chicken is a popular Cantonese dish made with crispy fried chicken tossed in a glossy sweet and tangy sauce with onions, bell peppers, and pineapple.
Today, it’s one of the most recognizable Chinese takeout dishes around the world. While many restaurant versions are heavily coated in sauce, making it at home lets you control the balance so every ingredient still shines.
Why Is This Sweet and Sour Chicken So Crispy?
Three simple techniques make all the difference.
First, marinating the chicken with salt, egg white, and a cornstarch slurry helps keep it juicy while creating a light coating that the batter can cling to.
Next, the batter is made with cornstarch, baking powder, and baking soda, creating a coating that’s light, crisp, and airy instead of heavy.
Finally, double-frying removes excess moisture from the coating, making the chicken extra crispy while helping it stay crunchy even after it’s tossed in the sauce.
Together, these techniques create Sweet and Sour Chicken that’s crispy on the outside and juicy on the inside.
Why Marinate the Chicken First?
Many people think marinating is only for flavor, but it also helps improve the texture.
The first step is mixing the salt into the chicken until it’s absorbed. This helps the chicken retain moisture while it cooks.
The egg white and cornstarch slurry then create a thin protective coating around each piece of chicken, helping it stay tender and juicy during frying.
Even if you only marinate the chicken while preparing the other ingredients, you’ll notice a difference in the final texture.
Why Does Sweet and Sour Chicken Have Ketchup?
If you’ve ever wondered why Sweet and Sour Chicken calls for ketchup, you’re not alone!
Traditional Cantonese sweet and sour dishes didn’t use ketchup. Instead, the sauce was lighter in color with a clear, glossy appearance and a balanced sweet-and-tangy flavor from ingredients like vinegar and sugar.
As Sweet and Sour Chicken became popular around the world, ketchup gradually became a common ingredient. It adds sweetness, tanginess, and the bright red-orange color that many people now associate with the dish.
I like using ketchup because it creates a rich, well-balanced sauce that’s easy to make at home. But if ketchup isn’t your thing, simply leave it out. You’ll end up with a lighter-colored sauce that’s closer to a traditional Cantonese sweet-and-sour flavor.
That’s one of the best things about making this dish at home—you can adjust the sauce however you like. Make it sweeter, tangier, with ketchup or without, until it’s just right for you.
How to Make Sweet and Sour Chicken in an Air Fryer?
Yes! If you’d like to use an air fryer, I recommend making one simple adjustment.
Instead of dipping the chicken in the batter, marinate it as directed, then lightly coat each piece with cornstarch. Spray both sides generously with cooking oil and arrange the chicken in a single layer in the air fryer basket.
Air-fry at 375°F (190°C) for 12–16 minutes, flipping halfway through, until the chicken is golden and reaches an internal temperature of 165°F (74°C).
Toss the chicken with the sweet and sour sauce just before serving. The coating will be different from the deep-fried version, but it’s still wonderfully crispy and makes a delicious lighter alternative.
Let’s Talk Ingredients
Chicken breast: Lean, tender, and perfect for bite-sized pieces. You can also use chicken thighs if you prefer darker meat.
Cornstarch: Used in both the marinade and the batter, cornstarch creates a light, crispy coating.
Egg white: Helps the batter cling to the chicken while keeping it tender and juicy.
Rice wine: Adds subtle aroma and helps season the chicken.
Baking powder and baking soda: Together, they create a lighter, crispier batter.
Ketchup: Gives the sauce its familiar sweet, tangy flavor and bright color.
Rice vinegar: Adds the tang that balances the sweetness.
Bell peppers, onion, and pineapple: Bring freshness, color, and texture to every bite.
Cooking oil: Use a high-smoking-point cooking oil for deep-frying.
I agree. Separating the two fries makes the process much clearer and matches how you actually cook it.
Step-by-Step: Let’s Cook!
Serves: 4
Prep time: 20 minutes
Cook time: 10 minutes
Step 1: Marinate the chicken
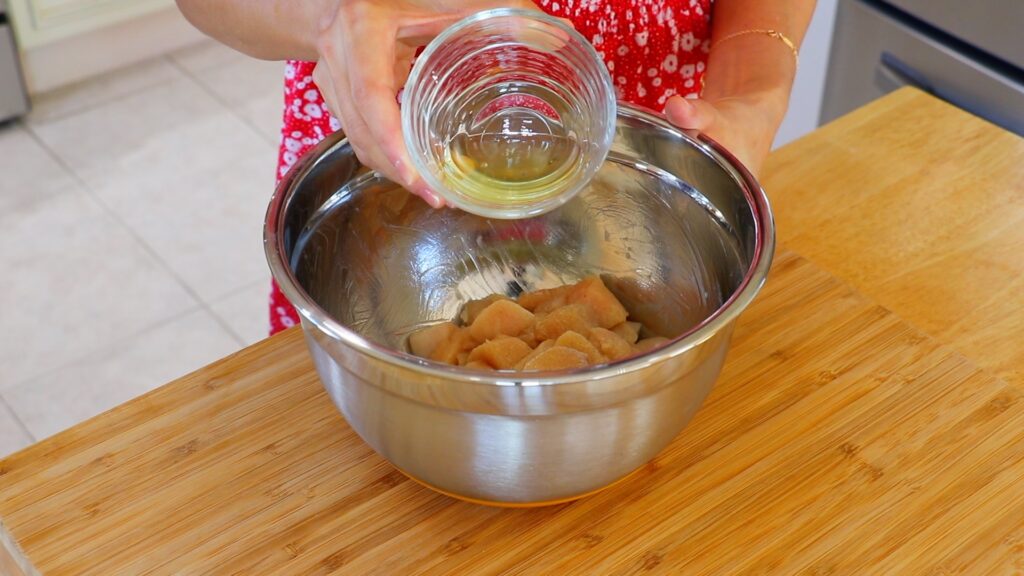
In a bowl, add the chicken and sprinkle in the salt. Mix until the chicken absorbs the salt.
Add the white pepper, rice wine, egg white, and the cornstarch slurry. Mix until the chicken is evenly coated. Let it marinate while you prepare the remaining ingredients, or longer if time allows.
Tip: Mixing the salt into the chicken first helps it retain moisture, keeping every piece juicy and tender after frying.
Step 2: Make the sweet and sour sauce
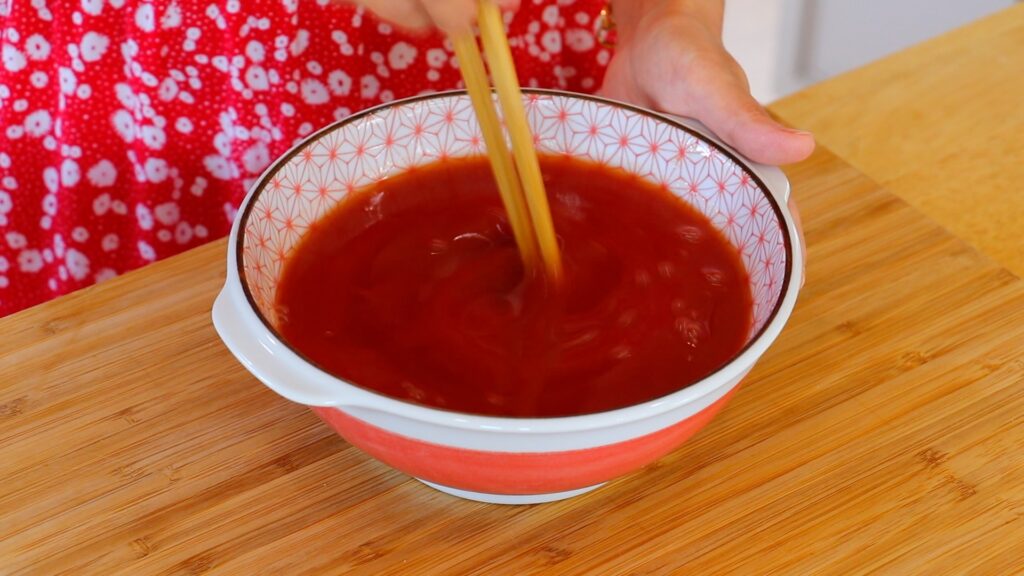
In a bowl, combine the water, rice vinegar, sugar, salt, and ketchup. Whisk until well combined.
Tip: Taste the sauce before cooking. If you prefer it sweeter, add a little more sugar. If you like it tangier, add a little more rice vinegar.
Step 3: Make the batter
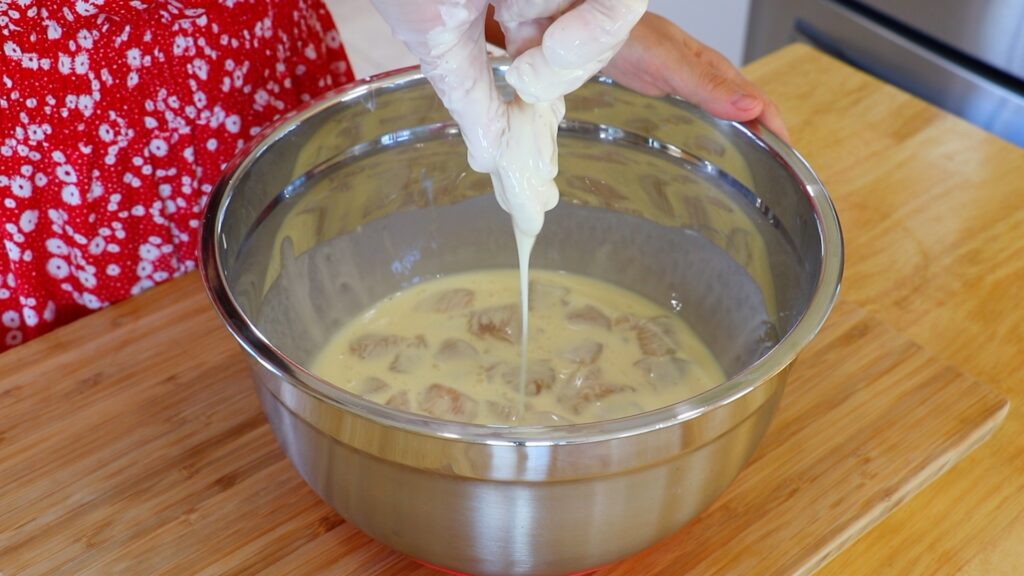
In a large bowl, whisk together the cornstarch, baking soda, baking powder, salt, egg, oil, and water until smooth.
Add the marinated chicken and gently toss until every piece is evenly coated.
Tip: Mix just until the batter comes together. Overmixing can make the coating heavier.
Step 4: Fry the chicken
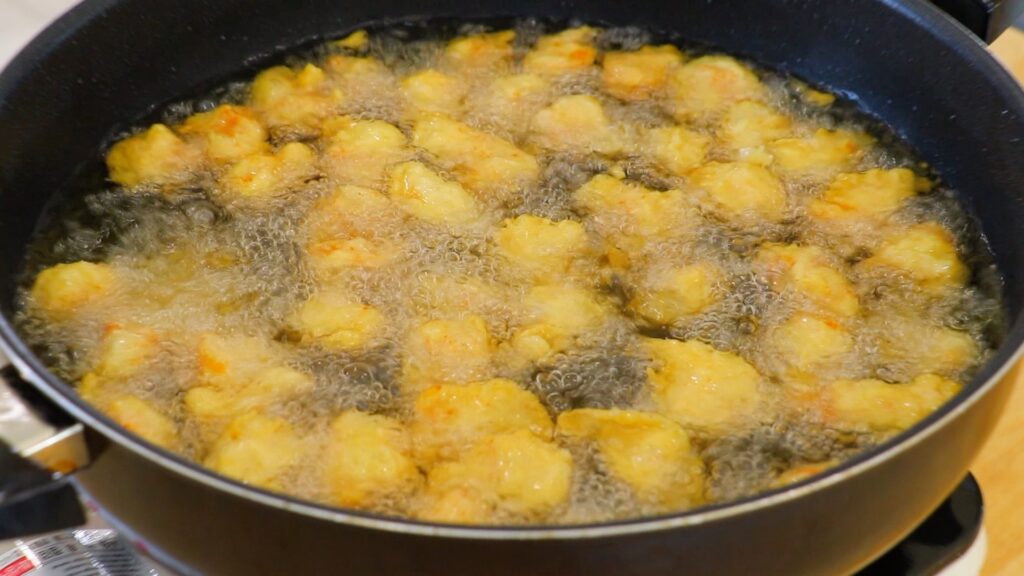
In a pot, add about high-smoking-point cooking oil, such as avocado or peanut oil. Heat the oil to 350°F (177°C).
Carefully fry the chicken in batches for about 5 minutes, or until golden brown and cooked through. Transfer to a wire rack or paper towel-lined plate.
Tip: Fry the chicken in batches to help maintain the oil temperature so every piece cooks evenly.
Step 5: Fry the chicken again
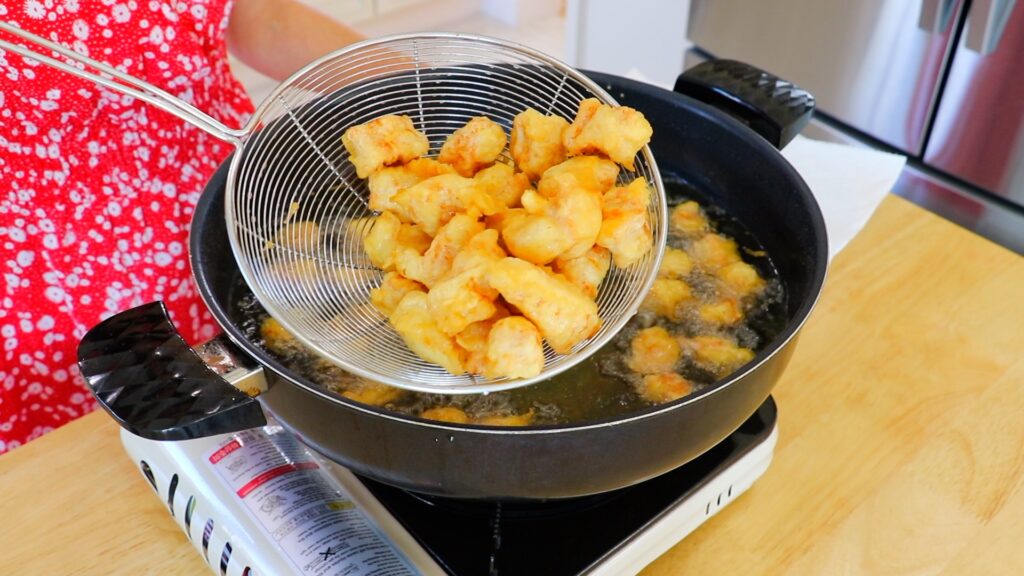
Increase the oil temperature to 375°F (191°C).
Return the chicken to the hot oil and fry for about 1 minute, or until golden and extra crispy. Transfer to a wire rack or paper towel-lined plate to drain.
Tip: The second fry forces out excess moisture from the coating, making the chicken lighter, crispier, and helping it stay crispy even after it’s tossed with the sauce.
Step 6: Stir-fry the vegetables
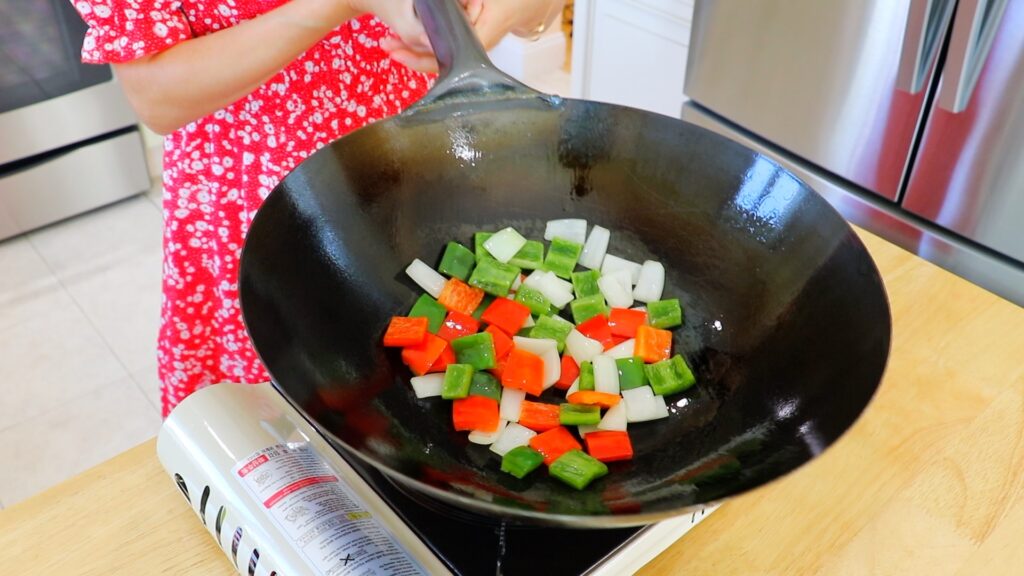
In a wok over high heat, add the cooking oil, onion, green bell pepper, and red bell pepper. Stir-fry for about 30 seconds, then transfer the vegetables to a plate.
Tip: A quick stir-fry keeps the vegetables crisp and colorful.
Step 7: Finish the dish
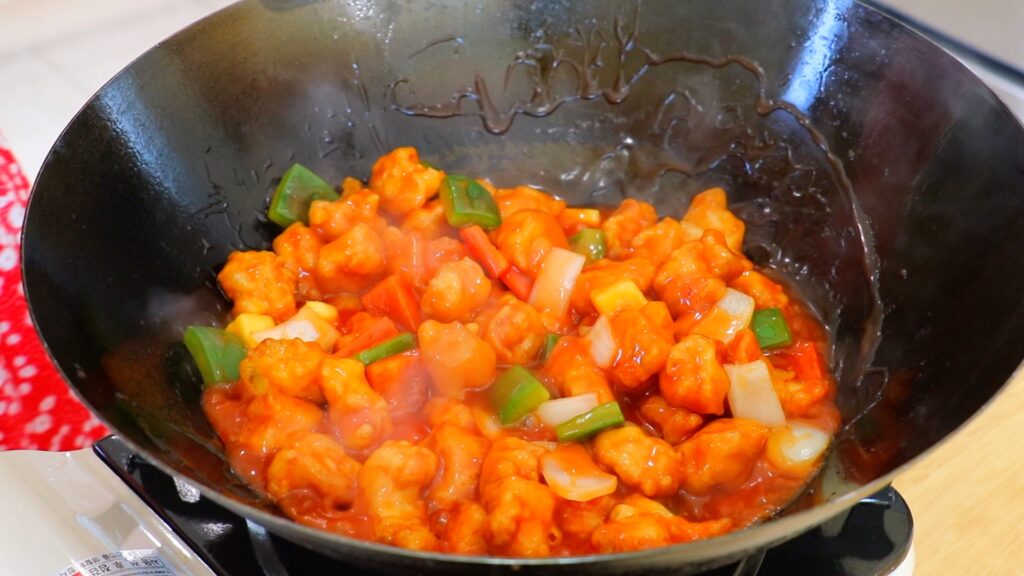
In the same wok over medium heat, pour in the sweet and sour sauce and bring it to a gentle simmer.
Stir in the cornstarch slurry and cook until the sauce thickens into a glossy coating.
Return the vegetables and chicken to the wok. Add the pineapple and toss until everything is evenly coated and heated through.
Serve immediately.
Tip: Toss the chicken with the sauce just before serving to keep the coating as crispy as possible.
Frequently Asked Questions
Can I use chicken thighs instead of chicken breast?
Yes! Chicken thighs are juicier and work just as well in this recipe.
Why isn’t my chicken crispy?
The oil may not have been hot enough, or the chicken may have been overcrowded while frying. Double-frying also helps create a crispier coating.
Can I make the sauce ahead of time?
Yes. Mix the sauce a day ahead and refrigerate it until you’re ready to cook.
Can I leave out the ketchup?
Yes! Simply leave it out for a lighter-colored sauce with a more traditional sweet-and-tangy flavor. Adjust the sugar and rice vinegar to taste.
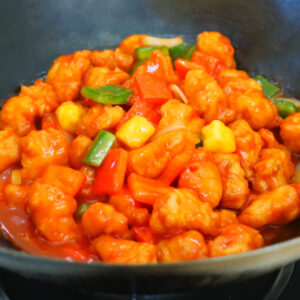
30-Min Sweet and Sour Chicken Recipe
Sweet and Sour Chicken is a crispy Cantonese classic made with golden fried chicken, colorful vegetables, pineapple, and a glossy homemade sweet and sour sauce.
Ingredients
For the chicken
- 1½ pounds skinless chicken breasts, cut into 1-inch pieces
- Pinch of salt
- Pinch of white pepper
- ½ tablespoon rice wine
- 1 large egg white
- 1 tablespoon cornstarch
- 3 tablespoons water
- 4 cups cooking oil, high-smoking-point
For the sauce
- 1 cup water
- 1 tablespoon rice vinegar
- 2 tablespoons sugar
- ⅙ teaspoon salt
- 4 tablespoons ketchup
- 1 tablespoon cornstarch
- 3 tablespoons water
For the stir-fry
- 1 tablespoon cooking oil
- ½ medium onion, cubed
- ½ medium green bell pepper, cubed
- ½ medium red bell pepper, cubed
- ½ cup pineapple, cubed
Instructions
- To marinate the chicken: In a bowl, add the chicken and sprinkle in the salt. Mix until the chicken absorbs the salt. Add the white pepper, rice wine, egg white, and the cornstarch slurry. Mix until evenly coated and let marinate while you prepare the remaining ingredients.
- To make the sweet and sour sauce: In a bowl, combine the water, rice vinegar, sugar, salt, and ketchup. Whisk until well combined.
- To make the batter: In a large bowl, whisk together the cornstarch, baking soda, baking powder, salt, egg, cooking oil, and water until smooth. Add the marinated chicken and toss until evenly coated.
- To fry the chicken: In a pot, add about 2 inches of a high-smoking-point cooking oil and heat to 350°F (177°C). Fry the chicken in batches for about 5 minutes, or until golden brown and cooked through. Transfer to a wire rack or paper towel-lined plate.
- To fry the chicken again: Increase the oil temperature to 375°F (191°C). Return the chicken to the oil and fry for about 1 minute, or until golden and extra crispy. Transfer to a wire rack or paper towel-lined plate to drain.
- To stir-fry the vegetables: In a wok over high heat, add the cooking oil, onion, green bell pepper, and red bell pepper. Stir-fry for about 30 seconds, then transfer to a plate.
- To finish the dish: In the same wok over medium heat, pour in the sweet and sour sauce and bring to a gentle simmer. Stir in the cornstarch slurry and cook until the sauce thickens and becomes glossy. Return the vegetables and chicken to the wok. Add the pineapple and toss until everything is evenly coated and heated through. Serve immediately.
Video
Notes
Salt first: Mixing the salt into the chicken first helps it retain moisture, keeping it juicy after frying.
Double-fry: Frying the chicken twice creates a lighter, crispier coating that stays crunchy longer after it's tossed with the sauce.
Don't overcrowd the pot: Fry the chicken in batches to help maintain the oil temperature and ensure even cooking.
Ketchup: If you prefer a lighter, more traditional-style sweet and sour sauce, simply leave out the ketchup and adjust the sugar and rice vinegar to taste.
Prep ahead: Marinate the chicken, mix the sauce, and cut the vegetables up to 1 day ahead. Store everything separately in the refrigerator until you're ready to cook.
Air-fry option: For an air-fryer version, skip the batter and lightly coat the marinated chicken with cornstarch. Spray both sides generously with cooking oil and air-fry at 375°F (190°C) for 12–16 minutes, flipping halfway through, until the chicken reaches 165°F (74°C).
Protein swap: This recipe also works well with pork, shrimp, firm white fish, or tofu. Adjust the cooking time as needed.
More Chicken Recipes You’ll Love
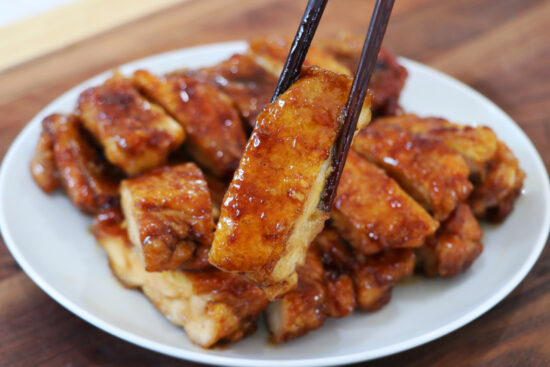
20-Min Five-Spice Chicken Recipe
This Five-Spice Chicken is one of those quick dinners my family asks for again and again. The chicken thighs are golden on the outside, tender …
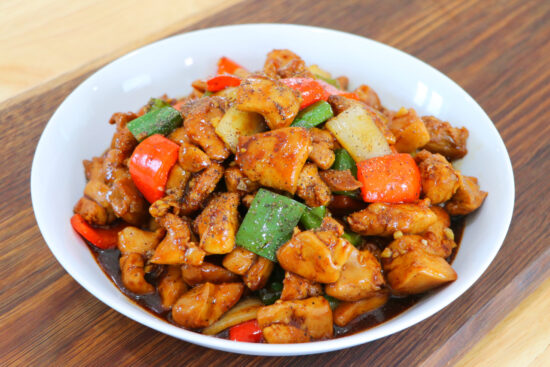
25-Min Black Pepper Chicken Recipe
Black Pepper Chicken is one of my favorite weeknight stir-fries because it’s quick, flavorful, and comes together in just 25 minutes. Tender pieces of chicken, …
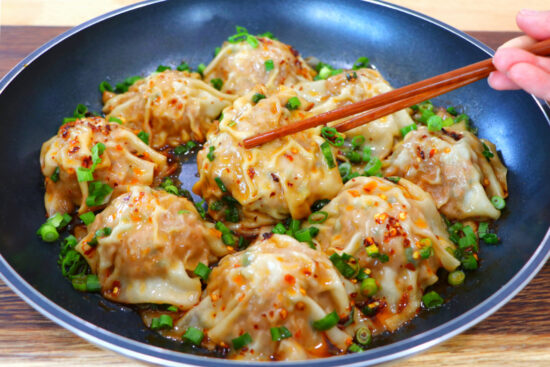
15-Min Chicken Blanket Dumplings
Chicken Blanket Dumplings are one of the easiest ways to enjoy homemade dumplings without spending time rolling dough or folding wrappers. This viral dumpling recipe …
25-Min Chicken Chop Suey Recipe
Chicken Chop Suey Chicken Chop Suey is one of those takeout dishes that looks simple, but when it’s made properly, the texture is what really …
25-Min Honey Butter Fried Chicken Wings
Honey Butter Fried Chicken Wings are one of those dishes that always feel a little special—crispy, golden wings tossed in a buttery, sweet-savory glaze that’s …
30-Min Crispy Rice Paper Chicken Dumplings
Have you ever made crispy rice paper chicken dumplings that looked great… but fell apart or turned soggy when you cooked them? I’ve tested so …
OMG, I feel like a pro!
Thank you, Cici, for the recipe!
Just made it and is SO delicious!
Thank you! <3
Hi Milena,
Yay! So glad that you enjoyed the sweet and sour chicken!
CiCi
Hi CiCi – what can I substitute for Water Chestnut Flour ? – I can’t source it here in Ireland !
Hi Ger,
Thank you for the question! You could replace it with cornstarch, rice flour, or all purpose flour. I hope it works out and enjoy!
Cheers,
CiCi
Hello, I love your recipes… I’m confused what GER is referring to as far as water chestnut flour… I’m not seeing flour in your sweet and sour video or the recipe… TIA.. Terrie
Hi Terrie, thank you for stopping by! I think you’re referring to the older sweet and sour chicken video, where I used waterchestnut flour. I’ve since realized that the flour can be difficult to find, so now I replace it with cornstarch. The older video is here, in case you’re wondering: https://cicili.tv/sweet-and-sour-chicken-recipe/ Happy cooking! 😀
Dear CiCili thank you for sharing your recipe . I cooked this to night and it is so delicious.
I’m so happy that you enjoyed my sweet and sour chicken recipe. Happy cooking, Lillian!
Hi Cici, I always love your recipe, simple but very delicious. I’ve learned Chinese cooking sometimes use Tapioca powder to enhance the look of the sauce, more shiny. What’s your take on it?
Hi Dylin, Thank you so much! I’m really glad you’ve been enjoying my recipes! And yes, you’re absolutely right—tapioca starch is used in Chinese cooking to give sauces a shinier, more translucent finish. It also creates a silky, slightly elastic texture that works especially well in stir-fries and glazes. I like using it when I want that restaurant-style glossy look, and it holds up better than cornstarch when reheated.
That said, cornstarch is much more common and accessible here in the U.S. It’s widely available in grocery stores, while tapioca starch is usually found at Asian markets, health food stores, or online. Sometimes it’s labeled as tapioca flour, which is usually the same thing.
So while I do enjoy using tapioca starch for certain dishes, I still rely on cornstarch for everyday cooking because it’s easy to find and consistently reliable. If you get a chance to try tapioca starch, though, it’s a great ingredient to play with—just remember to use a bit less than cornstarch and mix it with cold water first before adding it in at the end of cooking.
Hi CiCi! I want to make this with shrimp. Would I use the same coatings? And double fry method or is that too long for shrimp?
Thanks!
Hi Jackie, thanks so much for stopping by! Yes, you can absolutely use the same coating for the shrimp and fry them once until crispy. I hope you’ll enjoy it!
Hi Cici! I made this recipe last night and it was delicious! Much better than take out for sure. I also made your Chicken Egg roll recipe to go with it but used spring roll wrappers instead… also perfect! I love the flavor and have on several occasions just made it as egg roll in a bowl. Love all your recipes!
Hi Cheryl, I’m so happy to hear that you enjoyed the recipe — and I love that you paired it with the Chicken Egg Rolls! Using spring roll wrappers sounds like a delicious twist. Thank you so much for your kind words and support — it truly means a lot!